Showing posts with label cooking. Show all posts

Thursday, October 20, 2016

Thinking Tree books in Categories! (& Ideas for using them!)


 We have loved using the Thinking Tree books for over a year now (and longer if you include the Dyslexia Games books that we have used on and off for about 3 years too!  Which started back when I was learning about Right Brain dominant learners.)


There are SO many books by them and they are a different style than we are used to seeing (great for the right brain dominant learners!) But that can make it confusing to know which to pick.  I thought it would be helpful to share some ideas about the types of books (in categories) and a few ideas on how someone could plan to use them.

Many people have wondered how these books work and how they can use them.  I've broken the books down into a rough 8 categories to make it easier for people to see what types of books are available.

Saturday, February 20, 2016

Healthy chocolates

 My girls love desserts and especially chocolates, but I hate to give them have too much sugar and compromise their immune systems.  THESE are mostly coconut oil!  Which is great for you, but you can google all about that.  ;)  Also, you can use sweeteners other than sugar.  I like pure stevia and honey in ours.
 Ingredients
1 cup of Coconut Oil (might need to be melted slightly if it's especially cold.  My kitchen is always about 80 degrees so it's not a problem for us.)
1/2 cup cocoa powder
T of vanilla
pinch of salt to enhance the flavor

Mix all that together well and then add your sweetener of choice.
I use honey (local so I know it's pure honey) and stevia.  Start with a few scoops and taste the mix until it is as sweet as you like.  If you go too far and it becomes too sweet you can add more cocoa powder.

Put the mixture in molds or in a pan with wax paper and put it in the fridge or freezer so it can harden.
 I found some silicone molds at a 99 cent store and used them for the shapes!
They turned out super cute and my girls and I love them!

Sunday, January 10, 2016

Gluten Free Danish Christmas butter cookies.

 I used to love these cookies!  In those Christmas tins, all different lovely shapes in their individual papers.  WELL, this Christmas I decided that I should look into trying to convert a recipe to make them gluten/corn free.

Which meant a lot of testing the dough and cookie eating on my part.  (You're welcome) ;)

 After I did it the first time I had a pretty good idea what little changes needed to happen, but finally got around to doing the changes and final test tonight!  And, I've got to post about it before I forget.  (Next year I'll want to find this recipe again and what is this blog for except to keep track of things for me like this?)

Okay, THIS is the original recipe that I changed over.  If you don't have to be gluten free then just do that one.

And here's how I'm going to say how to do it. --

Ingredients-
3/4 cup of almond meal
2 cups gf flour mix
1 cup sugar
1 & 3/4 sticks of softened butter
2 large eggs
1 tsp of vanilla extract (gf of course)

preheat the oven to 350
Cream the sugar and soft butter together, add eggs and vanilla (I mix all this with just a fork in a medium mixing bowl and when I toss the fork and bowl in the dishwasher and you are still taking apart and cleaning your food processor/fancy mixer keep telling me how much quicker it is.) ;)
mix in the almond meal/flour loosely scooped.. don't pack and push the flour into the cup or it will be too dense and too much.
I used the flour blend pictured below, but if you use a different blend and it doesn't have xatham gum in it then you should probably add a tsp of xatham gum or something as well. 
Same thing with the gf flour mix.  Don't pack it, just fluff it into the measuring cup and smooth the top off to accurately measure.
(Don't chill the dough as this doesn't seem to help, but only hurts gluten free baking from what I've experienced.)
Use a cookie press like this one
On an UNgreased baking sheet 
(sprinkle with sugar before baking if you wish)
and bake for 10 to 15 minutes 
(start at 10 and then add more time to get the amount of color you like.)
Creaming the butter and sugar.  I love this part!
 The original recipe and many pastry recipes will have you chill dough.  I did try doing this and the second time skipped that step because I've found that chilling gluten free dough has a negative impact rather than a positive one.  So as soon as it's all mixed up, pop it into the cookie press and get to pressing and baking!  Also, note, I didn't bother with making it into a roll before putting it in the press.  I did that the first time and the second time just spooned it in and pushed it down tight and it worked just as well.
This is the flour blend that I used!  It already had a gum in it so I didn't add any extra.
 I took a short video to show how the dough felt.  It's moist and sticks super well to itself, but doesn't stick to me at all.  Very much like play dough, but lighter.
 I bought the cookie press that the original recipe recommended and once I got the hang of it it worked great!  It's actually super fun!  It did take a while and some blobs of dough that went back into the bowl till I got the hang of it though!  If you have trouble I'll see if I can find or make a short video about it to demonstrate.  I fiddled with it and almost gave up before I got the hang of it and then it was easy.

Sample of all my test subjects on the first go around.
Before baking you can sprinkle sugar on the tops of them as well.  Half the time I forgot to do this step, but it was pretty when I remembered.  :)

And that's it!  Super easy and not even that many ingredients!  Everyone has loved them.  They are a light (shortbread type crunchy) cookie (similar to Sandie's Pecan cookies, but less crumbly) which I think goes so well with tea parties!  Also the almond/vanilla flavor can be complimented by so much.  I might play more with this for Valentines day!

Monday, November 09, 2015

School at a park day!

 Our spur of the moment trip to the park to do school time last week!  I set a timer for 15 minutes and had them play for 15 minutes and then come do some school for 15 minutes.  We were there about 3 hours and they had a blast and we even got stuff done!
 These pictures are both the "in process" ones while they were off playing.  I got to do my own relaxing coloring while they ran around and played.  :)

These are the things I brought for me!  My Mom journal and some other books and a magazine.  I colored and read and rested most of the time.

Curious to see more of the inside of the mom journal?  These were the prettiest pages, but there's just many that I didn't do an awesome job on.  Keepin' it real.  ;)  Some of the ones in the picture above my girls helped a little with before they got their own journals and coloring books.
One of the pages and writing down some thoughts about their school while I colored.  Also, that chocolate right there is fabulous!  It's sweetened with stevia and is surprisingly good.  :)
The other little book that I had pictured up there was called "How to Homeschool" which might seem like a not helpful thing if you've been homeschooling a while, but it's actually lovely for anyone who is homeschooling or who wants to homeschool and is at any stage in this journy.  She talks about the stages of authentic learning and while her books can help you get there you can take the info she offers and use it with any curriculum you already like.  There's spaces to write down and help you think about your kids school.  All the pictures can be colored so you can use it as a lovely coloring book while you think and plan.  I'm not great at making lists so the artistic aspect of it combined with writing down lists or ideas was helpful for me because I didn't start freaking out like I normally would about planning!
Another page, I took this because I got to thinking about how someone might think they don't have time to color all these little details on the page.  Enter the Prisma colored pencils and smudging with them.  Really, just add color where ever and it looks beautiful and hardly takes any time yet gives a little point in time of rest.  I love making borders of color on my favorite pages.

My 9 year olds chosen four books (the ones on the bottom) to go with her kitty doodle book.  She told me her Kitty Doodle book is her favorite school book ever.
My 7 year old's chosen four books at the bottom there to go with her Bunny Journal.  And her colored pencil box and markers are in this picture as well.
 I'm learning a great thing about my middle daughter and how I can help her learn to be diligent and do her best.  The picture below is one that she did in her "100 Easy Bible verses" book and as you can see it didn't start out so well.  While she was writing though I started to draw the lines of color at the top and talked to her.  She seemed to relax more and had less of an attitude about "I can't" and actually started trying to do her best.  We talked about the verse and other things and I keep telling my girls when they say "I can't." I say, "You can't YET." And smile and talk about all the things I can't do YET.  ;)  Or the things I couldn't do UNTIL I learned how to do them.
 She is now saying that she wants to be an artist and diligently worked through coloring these pages below with tracing paper (she was copying pictures from her favorite books) and this is a big deal for her because she tends to not want to finish something or she'll just want to do it quick, but she colored the WHOLE page of each!  When we work through the "Fun-School Journals" I encourage them to color as much of their page as I can get them to do.  Sometimes I give advice or show them more ways they can add color or just show them what I do on my own pages.


The 4 year old's "Fun-Schooling" with her chosen four books above.
 She's been so excited about this that ever since last Thursday when it came in the mail she's brought it to me practically first thing in the mornings!  Saturday we did a few pages while I was still in bed. 
Here she's picking out some books from the shelves in the background.  I've got it organized so the shelf on the left is all the library books (that change pretty often) and the middle is a lot of books that are early reader types and others they can all read on their own if they want to (some of those are library ones as well) and the right shelf has the oldest's books at the top, middle in the middle, and the 4 year old's at the bottom (to go with their Fun-school journals.) 
 I have another BIG bookshelf upstairs with even more books, but this helps us not get too overwhelmed to organize it like the picture is above.  (Also have a couple cupboards full of school books and another full large shelf of school supplies in the dinning room.)
Some coloring the littlest did with her "Thinking Time"- I am still doing this with her since she's young enough that she's not able to figure it out on her own quite yet.  It probably won't take long though!

Some of the coloring on the left page my 4 year old and I did together.  We talked and I'm noticing that by doing this there's less chatting in bed at night when they are supposed to be going to sleep!  I guess some extra chat time in the day is helpful that way.  Also, it's less stressful for me to chat during the day while coloring and doing school than at bedtime when I'm all worn out!
She's been asking me how to spell words and she wants to darken the lines when I write a word lightly for her!  My oldest was so resistant to writing and reading that it's weird almost to see this initiative!

 Sunday we stayed home because the little two were sick and my youngest wanted to do more of her school!  Well, the page she happened to be on was the "watch a documentary or educational show" page.  She chose "Super Why" and all by herself she paused Netflix to write down the "super letters" on her page.
 She colored her page as well and her sister joined her.  I turned on Fantasia while they did more coloring and they got some good inspiration.  ;)

One of my favorite things about these journals is that my girls are doing so much on each page instead of just getting it all over with. It's clear that they are enjoying the Journals!  Also don't underestimate coloring, especially if you are dealing with emotional kids.  Coloring is calming for all of us and it helps us think and develop diligence and pen control and strengthens our creative muscles as they choose all sorts of different colors to draw a picture.

I really think you could use these along with or incorporated with other curriculum choices, OR you could use a book like this for the summer time to help them keep their brains working but still have freedom with what they are doing.  For a summer thing it could be to do so many journal pages before any screen time is allowed for instance.  :)

-------------------------------------------------------
If you haven't thought of this yet I must emphasize to NOT point out when a child doesn't get "everything in the lines" and not make rules about coloring the pictures realistically.  If they want to color the bunny purple.. why not?  Really.  Maybe it's a dream bunny?   

Imposing our own ideas of what something should look like on another artist isn't encouraging at all.  

It's okay to give ideas, but it's vital to accept how they choose to draw something.  We don't want our kids to give up.  Art is a skill just like any other and I think it's so sad when people say that they can't draw.  Or aren't artistic.  We are created in God's image, which means we all ARE creative because He is!  Sure, it comes out differently in all of us, but putting value judgements is what we need to avoid.  Encouraging whatever they want to create and celebrating their hard work is the most important thing.
-------------------------------------------------------- 


 Last week everyone wanted to make pizza and I thought I'd mix one recipe with our usual gluten free pizza crust recipe.  Trying to figure out how to make the crust a little more fluffy and less chewy while still keeping it relatively easy to do!  While I was rolling out the dough I asked my 9 year old to write down our new ingredients in our DIY Cooking Journal that we'd added to the recipe.  AND SHE DID!
Top left is the pizza by the 7 year old.  It's quite fancy. ;)  Bottom left is by the 4 year old and bottom right by the 9 year old!
 Perhaps I should explain something about why it's so significant that my 9 year old wrote down what I told her to write down - it's because she's been so resistant to writing for so long!  Also, even this last summer if I told her how to write something she wouldn't hear me or she'd hear wrong or she'd forget how one letter or another looked and couldn't spell the word even if I was spelling it out loud for her to write down.

Also, understand that she is very sweet and willing to do things that I ask her to do, so it hasn't been the lack of trying like her younger sister was going through.  All the "Right Brain Learning" that we've been doing has helped so much more than the way I started out with her.  Now I just need to keep at it and have her practice reading in her head more and so on.

Honestly, when I first got this DIY cooking journal (and some of the other DIY books) I wasn't sure what to do with it or really saw the value in it.  It's just a blank book right?  Well, yes and no.  See, do you know how hard it is to find pretty sketch books?  Actually, I can't remember seeing one (or hardly ever!) that had parts that were lined AND parts that were blank for drawing.. let alone parts that were lovely boarders of drawing to be colored as well.  I know these could be used well for sure and I'm thinking that my girls can get more used to cooking and following recipes if they have to copy the recipe before they can make it.  And I'm SURE they will be fine with that plan when I mention chocolate chip cookies.  ;)

And the pizza!  The verdict was that the crust WAS fluffier though I thought it tasted slightly too sweet for a pizza so possibly a couple more tweaks the next time we do it. ;)

Sunday, October 11, 2015

A little bit of "Normal"

 The more we use the "Teach your child to read, write, and spell 100 easy Bible verses" the more I'm really appreciating this!  The girls faces light up as we talk about what the verses mean and they are busy coloring enough to give each other time (instead of one finishing way before the other and causing problems!)
The video above is of my 7 year old working on her Bible verse page.  ... Along with some silliness at the end from the 4 year old.  It's just kind of how it goes.  We aren't very strict or quiet.  I'd be miserable if I was supposed to enforce the quiet classroom and no questions and no jokes.  I think that being silly together helps us remember what we are learning even more!  I'd like to start all our days with tea together and doing our Bible verse art. 

In church today I kept my own journal going as well and wrote and colored the verses that were in the sermon.  As I'm learning more about my own personality type ---ISFP, (and this video I think is the most accurate about what this type is about and what it's not about but his voice is annoying, so.. be warned.) I'm understand why the coloring is so helpful (and even vital) to what I need to be doing as a person.
 I kept myself busy not only with writing and coloring on my own but on sharpening all their colored pencils!  The pencil sharpener gave out a couple times and I had to let it cool, but it made it in the end.
(The Jamberry I'm wearing on my thumb is called "Word to the Wise" I thought that was funnily appropriate for this moment.)
 The 4 year old claimed one of the DIY journal type books, but she's so adorable I let her have it.  ;)


And a little video below of some of our school time... and silliness. 
 I finished coloring a picture (while they worked) in a "Day like Tomorrow" and my girls oohed and awwed about it.

 My oldest has been working through her "Dyslexic Games" series B books and is to the word scavenger hunt.  She found most of these words around our chalk board!  Being on camera was making her nervous I think so I was trying to help her laugh.  It's amazing how much better our school time is if we can laugh a bit together as well.  :)

 Also, I changed our "work box drawers" up a bit.  Instead of having them all separate where the kids would get into them on their own I really needed to have it more for my own order as use.  They aren't doing a lot of independent work yet so it's a lot easier for me to plan what we are going to do in the moment.  The red is my 9 year old (with a few things in each drawer to choose from for a topic) and the 4 year old is the yellow, and the 7 year old is the green drawers.  The shelf beside that is a bunch of read aloud books and my own journaling stuff and Odyssey cds and that sort of thing.
 The colored paper is on with Velcro so I can use them as markers for what we have or haven't done in a day so I'll remember.  My planning feels very fluid because often we keep going with something and don't get to the other things.  Like reading a whole first chapter book in one sitting (over an hour of me reading out loud to all three of them!) and there was just so many cheers of "another chapter" that I couldn't make us stop.  So the organizing is a little more topical and visual so I can at least make things happen in the moment even if I can't very well describe how I do it.

 My youngest is now old enough to climb the little tree outside of our apartment now.  Sort of bittersweet to have the baby old enough to do that on her own, but I'm glad to see her enjoy the little tree so much and it just makes me wish I had more of a backyard for her to play in.
 The cat is a problem as she can OPEN THE SLIDING DOOR herSELF.  And today I found out she can do this even when the sliding door is locked.  It's pretty frustrating because she isn't supposed to go outside without a leash.  Too many cars and she was saved from a shelter when we got her. I don't want her to end up there again!  So we are really careful, but when the kids come in and out it can be pretty stressful to try to keep her in.  She wants to be with her girls!

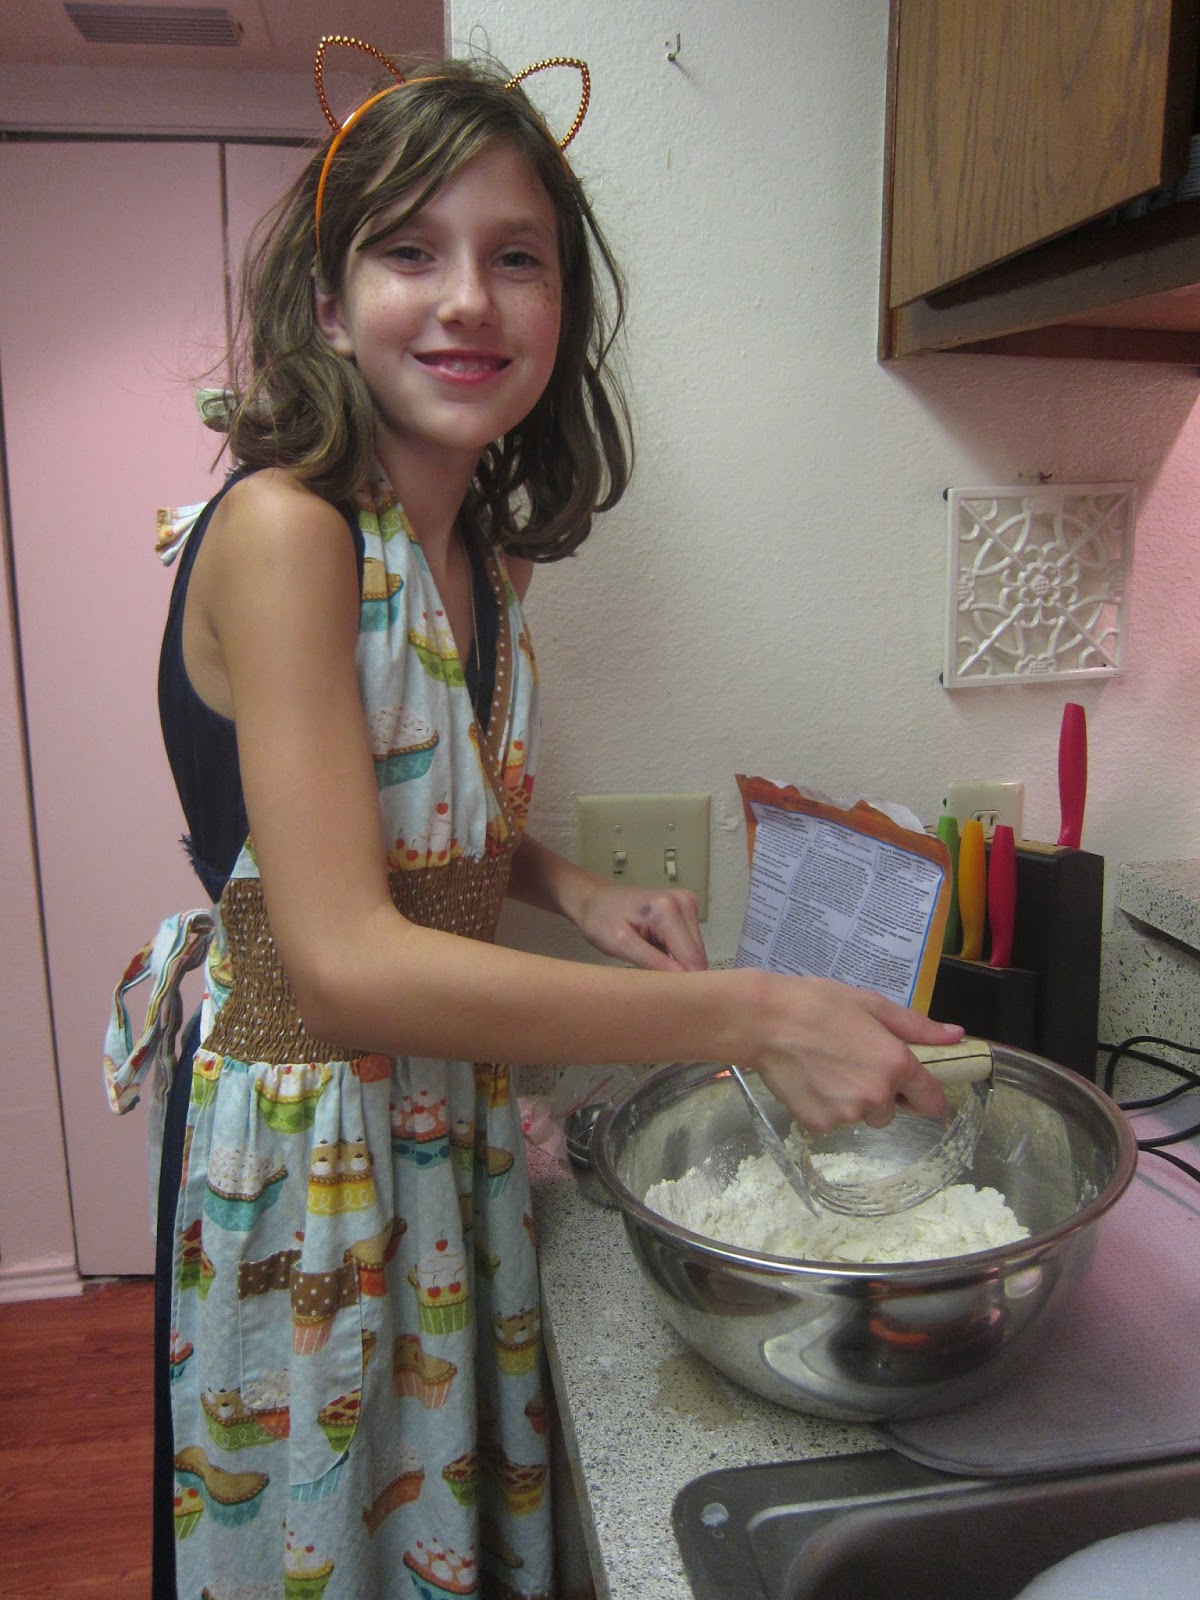
 I'm realizing a little something about organizing our school time and days and you know all those little things you have to do, empty the dishwasher and make breakfast and so on, just little stuff that ends up taking a long time.  Well, I realized my 9 year old was old enough to help make bread.  I mean -- of COURSE she was and she's helped me before, but as she was doing this while I was doing dishes and making breakfast it just hit me how helpful she can be!

Our kitchen is very tiny (I can't open the dishwasher and the fridge at the same time) so it's a struggle to help the kids learn to cook when the kitchen is really made for just one person, but having her do the bread while I moved around doing the other stuff was great!
We also made little pumpkin pies.  Because that's how we roll.  ;)  Gluten free crust turned out great!  And the only difference I usually do with the filling is add about twice the amount of spices the recipe on the back of the pumpkin can calls for.

Monday, April 13, 2015

Spectacular "S" week!

This might be my favorite one yet!

It says our last name over the door to the house.  :)


The top design is of Seattle, a sideways sea-serpent, sunset, starts, shark, snake, skunk, sword in a stone, sand on the shore, I think there's a shell there too.  The 9 year old did that one!  The one on the left is by the 7 year old who was delighted with the idea of snail "slime" shaping the s shape and the snake of course.  ;)

Geoboard design
I switched around the words/letters above our chalk board wall so that they can practice seeing words that start with the letter of the week.  Our last name is up there too!
Build a word search with any words you want!  They weren't super thrilled with this, but it was fun to use some of the words from our chalk board and "S word wall" in the word search design.

Telling a story game!

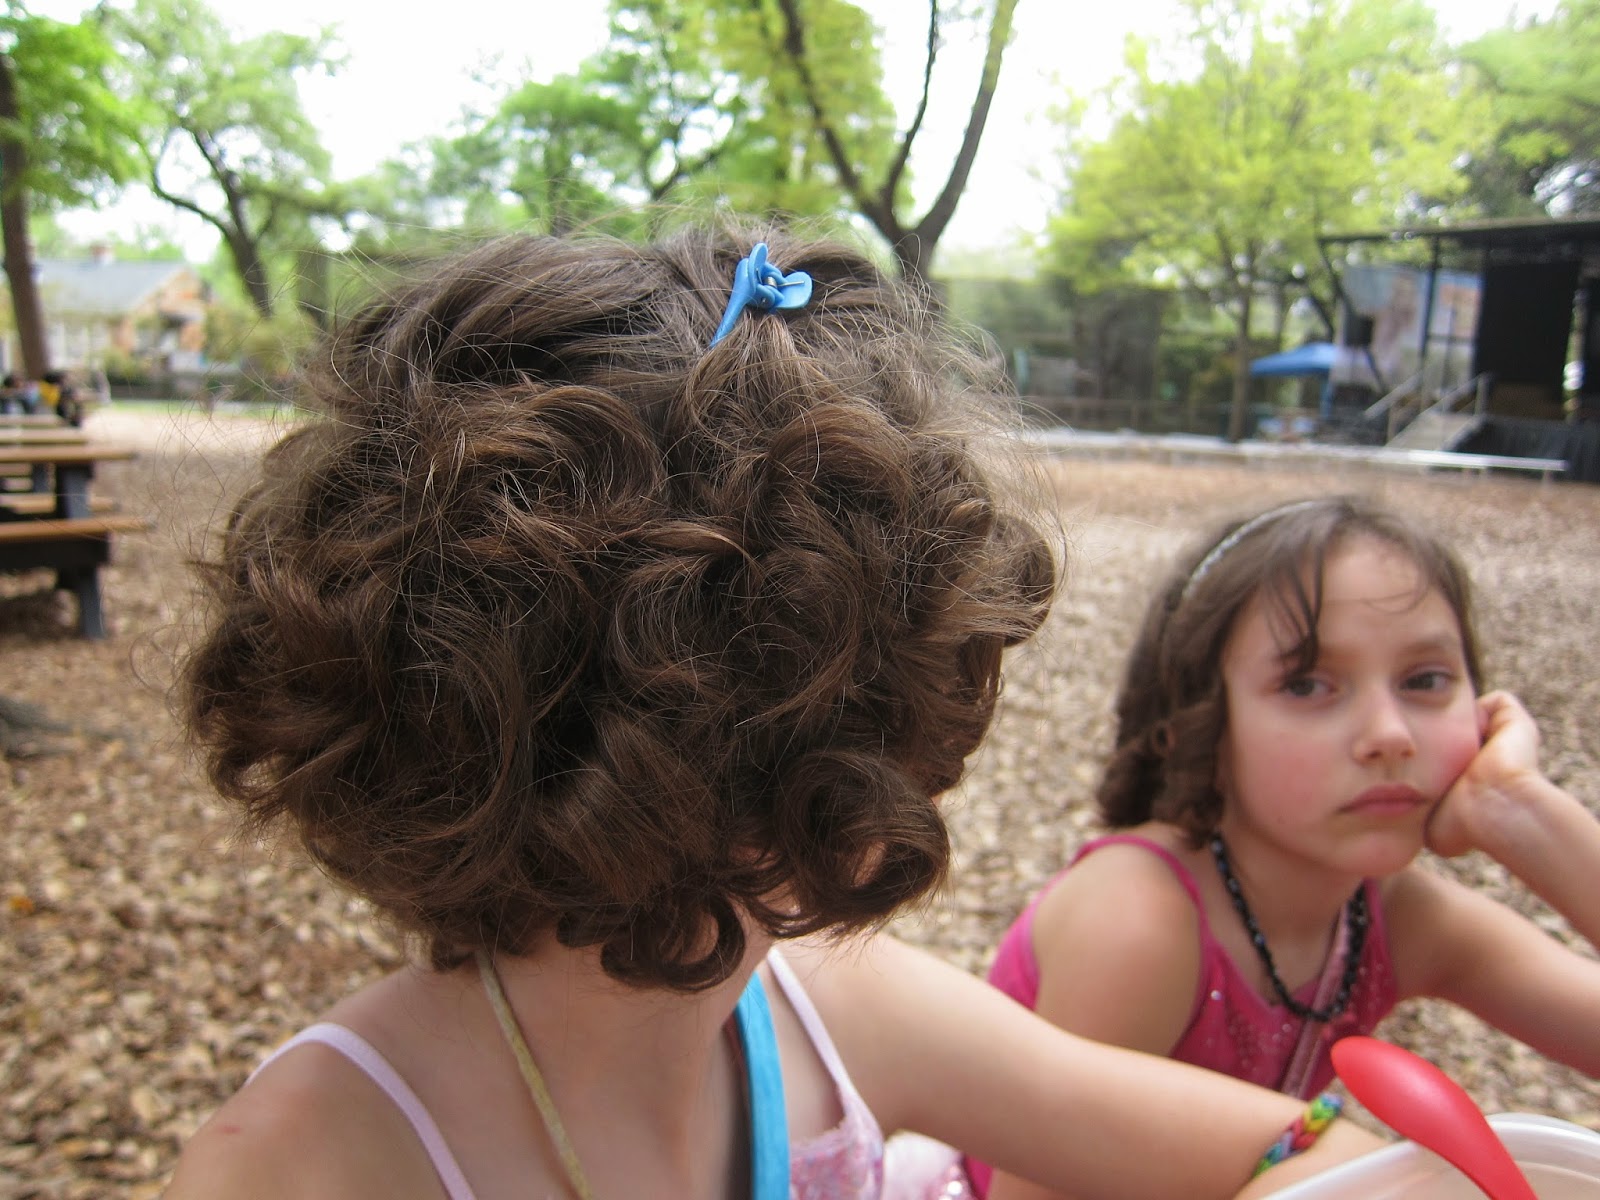
Curls were popular this week.

We finished up some of our "R week" and started "S week" by going to the zoo and turning in the rocks... which are now called "Stones"  ;)
Close up of the curls. 


The middle one was cranky for some reason.. her older sister was trying to help her smile for the camera..


And cranky pants was trying to hide, but my oldest and I enjoyed trying to identify the birds that had S names...


She especially was impressed with the "southern screamer" we got to see that one just a couple feet from us!
Made lots of Sushi this week!  My favorite is meat and cheese sushi.

 Sushi recipe!!!

2 cups of cooked white rice
dissolve 3 T. of sugar in 1/3 cup rice vinegar and then pour that mixture into the rice.
That's what sushi is!!  "Sweet rice"
Now you need Nori seaweed (I can find it at "Tom Thumb/Safeway")
spread the sweet rice onto the nori  about 1/8 of an inch thick and then an inch from the bottom line the filling.  You can use cheese and meat like I enjoy or canned tuna or other types of fish, or avocado, or red peppers.. or really anything you think would taste good in there!  Then roll it up!  We use "sushi mattes" to help us roll the sushi, but when we started we didn't have those.  You can eat it like a burrito or you can cut it nicely.  Takes a little practice, but is SO much more affordable then going somewhere!
And if you have to be gluten free like us just make sure you get gluten free soysauce because most soy sauces will have wheat in them unless they specifically say they are gluten free on the front.  We also like dipping it in sweet chili sauce.  :)

 Product Details  What would our week be without the animal antics from A to Z?

We did our other workbox type school and different things... went to the museum and looked for pictures of cats, but I didn't take a ton of pictures.